7 Container Hacks That Keep Your Packed Lunch Fresh Until Dinner

The $3 Billion Problem Sitting in Your Fridge
Americans throw away nearly 40% of their food supply each year—that's roughly $3 billion in edible meals hitting the trash. The culprit? Poor storage. When your carefully packed lunch turns soggy, wilted, or just plain sad by noon, you're less likely to eat it—and more likely to hit the nearest food court. This guide covers seven practical container strategies that actually work. No fancy gadgets required. No "revolutionary" products that cost more than your weekly grocery bill. Just straightforward techniques to keep sandwiches crisp, salads vibrant, and hot dishes warm until you're ready to eat.
Why Does My Sandwich Bread Get Soggy in a Container?
Moisture migration is the enemy of every packed lunch. When warm ingredients meet cold bread, condensation forms. When wet fillings touch dry surfaces, osmosis takes over. The result? A squishy, unappetizing mess that nobody wants to eat at their desk.
Here's the fix: create barriers. Mayo and mustard act as moisture shields—spread them directly onto both slices of bread before adding fillings. Layer wet ingredients (tomatoes, pickles, roasted peppers) between dry ones (lettuce, cheese, deli meat). Better yet, pack components separately and assemble at your destination. It takes 30 seconds. Your taste buds will thank you.
Container choice matters too. Thin plastic lets air exchange happen faster than you'd think. Glass containers with silicone seals slow this process dramatically. For sandwiches specifically, consider a dedicated sandwich box with raised ridges—these keep bread improved away from any condensation that does form. The FDA recommends keeping perishable foods at safe temperatures below 40°F, which also helps prevent the bacterial growth that accelerates spoilage and texture breakdown.
What's the Best Way to Pack a Salad for Lunch?
Salads are notorious for deteriorating during transport. Dressing soaks greens. Cut vegetables weep moisture. By 12:30 PM, you've got soup with floating lettuce leaves. Not exactly the satisfying meal you envisioned.
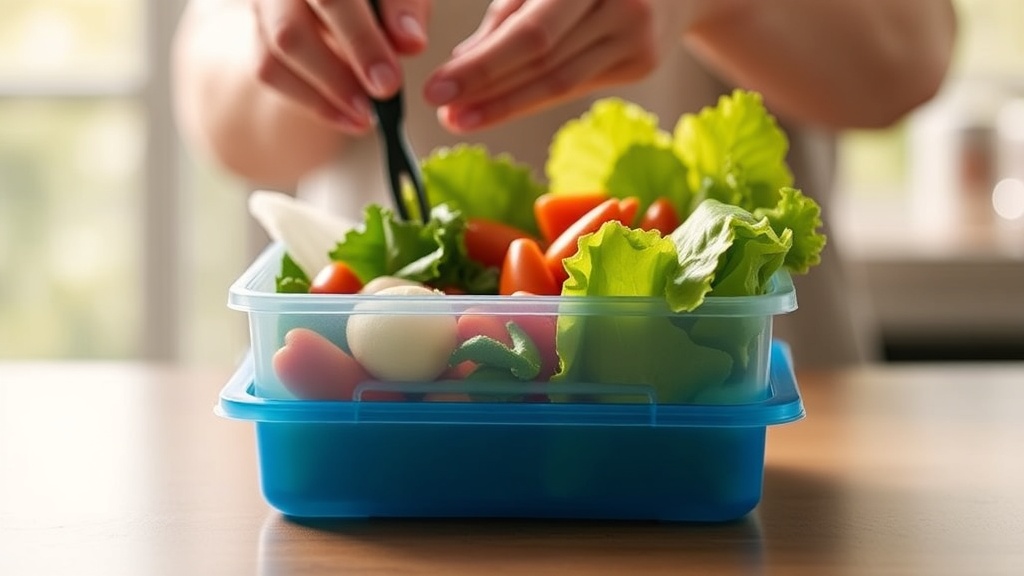
The mason jar method solves this elegantly. Layer ingredients strategically: dressing goes on the bottom, followed by hearty vegetables (carrots, cucumbers, cherry tomatoes), then proteins and grains, with delicate greens packed at the top. When you're ready to eat, shake everything onto a plate—or eat straight from the jar. Gravity keeps the dressing away from leaves until you mix.
Another approach: the bento-style compartment container. These keep elements isolated—dressing in one section, greens in another, toppings somewhere else. Japanese manufacturers have refined this approach over decades. Bento culture emphasizes visual appeal and food safety simultaneously, and their engineering shows in the tight-fitting seals and thoughtful proportions.
For cut vegetables that tend to dry out—think cucumber rounds, bell pepper strips, celery—dampen a paper towel, wring it nearly dry, and nestle it in the container. The slight humidity keeps things crisp without promoting rot. Replace daily. It's a small step that extends freshness significantly.
Can I Keep Hot Food Hot Until Lunchtime?
Yes—but not with standard plastic containers. Thermal retention requires insulation and preheating. Most people skip the second step, which dooms their soup to lukewarm mediocrity.
Start with a vacuum-insulated food jar. Fill it with boiling water, seal, and let stand for five minutes. Drain, add your hot food, seal immediately. This preheating step raises the container's internal temperature so your food doesn't waste energy warming the metal. Properly executed, soup stays piping hot for six hours. Chili remains chili—not tepid bean sludge.
The same principle works in reverse for cold foods. Pre-chill your container in the freezer for ten minutes before adding yogurt, cold pasta salad, or cut fruit. The thermal mass of a cold container buys you precious hours of safe temperature maintenance. The USDA emphasizes temperature control as the single most important factor in preventing foodborne illness during transport.
How Do I Prevent Cut Fruit from Browning?
Apples, pears, bananas, and stone fruits contain enzymes that react with oxygen the moment you break their skin. Within an hour, you've got unappetizing brown mush. Kids won't touch it. Adults pretend they will, then throw it away.
Lemon juice works—citric acid inhibits the enzymatic browning reaction—but it alters flavor significantly. A better approach for most fruits: submerge cut pieces in cold water with a pinch of salt (yes, salt) for five minutes, then drain and pack. The brief salt exposure creates a barrier without making things taste savory. Rinse before eating if you're sensitive to it.
For apples specifically, try slicing them into rings, reassembling the whole shape, and wrapping tightly with plastic wrap. Minimizing air exposure to cut surfaces slows browning dramatically. Pack the reconstructed apple in a rigid container so the wrap stays tight. It looks clever, keeps fruit fresh for hours, and eliminates the need for acidic dips.
Are Glass Containers Really Worth the Switch?
Plastic dominates lunch-packing culture because it's light and cheap. But glass offers advantages that matter more than most people realize. It doesn't retain odors—yesterday's curry won't haunt today's turkey sandwich. It doesn't stain when you pack tomato-based sauces. It heats evenly in the microwave without melting, warping, or leaching questionable chemicals into your food.
The weight concern is overstated for most commutes. A typical glass container adds perhaps a pound to your bag. Unless you're hiking ten miles, that's negligible. The real consideration is breakage—but modern borosilicate glass resists thermal shock and minor impacts. Use a padded lunch bag, and the risk drops to near zero.
Silicone lids have revolutionized glass food storage. Unlike rigid plastic lids that crack and lose seals over time, silicone remains flexible and form-fitting through thousands of uses. Look for containers with locking clips—the mechanical seal supplements the material seal, creating a genuinely airtight environment that keeps food fresher longer.
What About Reusable Alternatives to Plastic Wrap?
Beeswax wraps, silicone bags, and cloth covers have gained popularity among sustainability-minded packers. Do they work? Mostly—within limits.
Beeswax wraps excel at covering bowls and wrapping sandwiches. The warmth of your hands softens the wax, allowing it to mold to shapes. But they're not fully airtight. Don't use them for pungent foods (garlic, onions, strong cheese) unless you want every future wrap to smell like alliums. Wash in cool water with mild soap—hot water melts the wax coating.
Silicone bags (the thick, zip-sealed variety) handle liquids better than wraps. They're genuinely leakproof when sealed properly, dishwasher-safe, and last for years. The upfront cost stings—$10-15 per bag—but calculate the cost of disposable bags over that same period and the math favors reusables quickly. Just ensure they're completely dry before storing to prevent mildew.
Quick Reference: Match Your Food to Your Container
- Soups and stews: Wide-mouth vacuum-insulated jars, preheated
- Sandwiches: Rigid rectangular containers with ridges or dedicated sandwich boxes
- Salads: Quart-sized mason jars (layered) or compartment bento boxes
- Wet dishes (curries, pasta): Glass with locking silicone lids
- Snacks (nuts, crackers, dried fruit): Lightweight plastic with tight seals
- Cut fruit: Small glass containers with minimal headspace, or water-submerged packing
The right container won't fix bad food—but it will preserve good food at its peak. Invest in a few versatile pieces. Learn their quirks. Your wallet, your taste buds, and the environment all benefit when you stop throwing away lunches that "just didn't keep."