Making Sourdough Starter from Scratch at Home

A single gram of flour contains millions of microscopic organisms, and when you mix it with water, you're essentially starting a biological colony in your kitchen. This post explains exactly how to cultivate a wild yeast starter from scratch using nothing but flour and water. You'll learn the daily feeding rhythms, how to recognize signs of life, and how to maintain your culture so it doesn't die on you. Making your own starter is the foundation of artisan bread baking, and it's a skill that saves you from relying on store-bought yeast.
What Ingredients Do I Need for Sourdough Starter?
You only need two ingredients: flour and water. While you could use any grain, I highly recommend using an unbleached, organic whole wheat flour or a rye flour for the initial stages because these contain more natural nutrients and wild yeast. Most people find success using a high-quality flour like King Arthur Unbleached All-Purpose Flour or a stone-ground rye from a local mill.
Water quality matters more than you might think. If your tap water is heavily chlorinated, it might actually kill the very microbes you're trying to grow. If you're in a city like Montreal or New York where water treatment is heavy, let your tap water sit out in an open jar for 24 hours to let the chlorine dissipate, or just use filtered water from a Brita pitcher. It's a small detail, but it makes a massive difference in the early days of fermentation.
- Flour: Unbleached bread flour or whole rye flour.
- Water: Filtered or dechlorinated water.
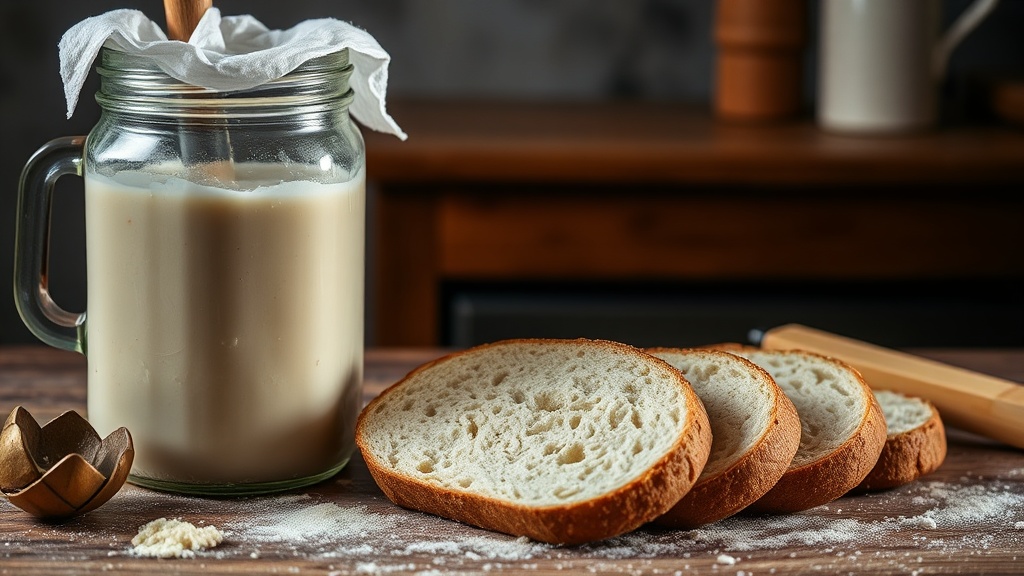
- Container: A glass jar (like a Mason jar) or a plastic container.
- Scale: A digital kitchen scale is much better than using measuring cups.
I can't stress this enough—use a scale. Volume measurements for flour are notoriously inaccurate because of how much the flour settles. A cup of flour can weigh significantly more depending on how tightly it's packed. A digital scale ensures your ratios are perfect every single time.
How Do I Make Sourdough Starter from Scratch?
To make a starter, you must follow a strict schedule of feeding flour and water to a specific ratio over the course of 7 to 10 days. You aren't just mixing ingredients; you're managing a living ecosystem. It's a bit like having a very low-maintenance pet.
Day 1: The Beginning
Mix 50 grams of flour and 50 grams of lukewarm water in a clean glass jar. Stir it until it looks like a thick paste. Cover the jar loosely—a piece of cloth or a lid that isn't screwed on tight—and let it sit at room temperature (ideally around 22-25°C) for 24 hours.
Day 2: The First Observation
You might see nothing happening. That's fine. Don't panic. Even if there are no bubbles, don't add more flour yet. Just let it sit for another 24 hours. This is the period where the bacteria are just starting to settle in.
Day 3: The First Feed
Now we start the cycle. You'll discard half of the mixture and add fresh ingredients. This "discarding" part feels wasteful, but it's necessary to keep the acidity from getting too high.
The Ratio: Discard half the jar, then add 50g of flour and 50g of water. Stir well. Repeat this every 24 hours.
Day 4-7: The Fermentation Phase
By day 4 or 5, you might see some bubbles or even a strange smell. It might smell a bit funky—like old cheese or even gym socks. This is normal. The pH is shifting. You're looking for a transition from "stinky and gross" to "sour and yeasty."
| Day | Action | What to Look For |
|---|---|---|
| Day 1 | Initial Mix | A thick, paste-like consistency. |
| Day 3 | First Feed | Small bubbles might appear; scent is neutral. |
| Day 5 | Regular Feeding | Stronger aroma; more bubbles; some liquid on top (hooch). |
| Day 7+ | Testing Readiness | Doubles in size within 4-6 hours of feeding. |
If you see a dark liquid on top of your starter, that's called "hooch." It's essentially alcohol produced by the yeast. It's not a sign that your starter is dead; it's just a sign that it's hungry. Pour it off or stir it back in, then feed it immediately.
How Often Should I Feed My Sourdough Starter?
Once your starter is active and doubling in size, you should feed it once every 24 hours if it's kept on the counter, or once a week if it's kept in the refrigerator. The frequency depends entirely on how you intend to use it.
If you are a daily baker, keep it on the counter and feed it every day. If you only bake on weekends, keep it in the fridge. The refrigerator slows down the metabolic rate of the yeast, effectively putting it into a "sleep" state. To wake it up, you'll need to take it out and feed it at room temperature for a day or two before you plan to bake. It's a bit like waking up from a long nap.
For more technical details on the biology of fermentation, you can check out the Wikipedia entry on Sourdough or look into the microbiological aspects of fermentation through public health resources regarding food-safe fermentation practices. Knowing the science helps you troubleshoot when things go sideways.
One thing to watch out for: mold. If you see fuzzy growth that is green, black, or white, your starter is contaminated. Unlike the liquid "hooch," mold is a sign that you should toss the whole batch and start over. It usually happens if your tools weren't clean or if the environment was too damp.
Troubleshooting Common Issues:
- No Bubbles: Your water might be too chlorinated or your flour lacks nutrients. Try using organic rye flour.
- Smells Like Vinegar: This is actually a good sign! It means your starter is acidic. Just keep feeding it.
- Too Much Liquid: Your starter is hungry. Increase the frequency of feedings or the amount of flour.
- Smells Like Acetone (Nail Polish Remover): This usually means the starter is extremely hungry and the pH is very low. Feed it more often.
The process of making a starter is less about following a recipe and more about observing a living thing. You'll start to recognize the way it smells and how it moves. It's a tactile process. You'll see it rise, and you'll see it fall. That rhythm becomes second nature after a few weeks.
If you're using a high-protein flour like King Arthur Bread Flour, you'll likely see more vigorous activity due to the gluten structure. A stronger gluten network holds onto the gas produced by the yeast, resulting in more dramatic "rises." This is why weight-based measurements are so important—you need that structural integrity to hold the bubbles.
Don't get discouraged if your first attempt fails. I've seen many people give up on day four because it looked "dead." It's rarely dead; it's just in a transition phase. The microbes are fighting for dominance, and it takes time for the "good" ones to win. Just keep feeding it.
One final tip: always use a clean jar. Residual old food or unwashed surfaces can introduce bad bacteria. A clean environment is your best friend in the early stages of cultivation. If you're using a glass jar, make sure it's thoroughly dried before you start. Water can sometimes cause the flour to become a gummy mess if it's not balanced correctly.
Steps
- 1
Mix flour and water
- 2
Rest and ferment
- 3
Daily feedings
- 4
Check for activity