Infuse Your Oils with Fragrant Aromatics for Instant Flavor

A cook stands over a pan of plain sautéed vegetables, realizing the dish lacks the depth of the restaurant version they had last week. The ingredients are high quality, but the flavor is flat. The solution isn't more salt or more heat; it's the addition of infused oils. This post explains how to infuse oils with aromatics like garlic, chili, and herbs to create high-impact flavor bases for your cooking.
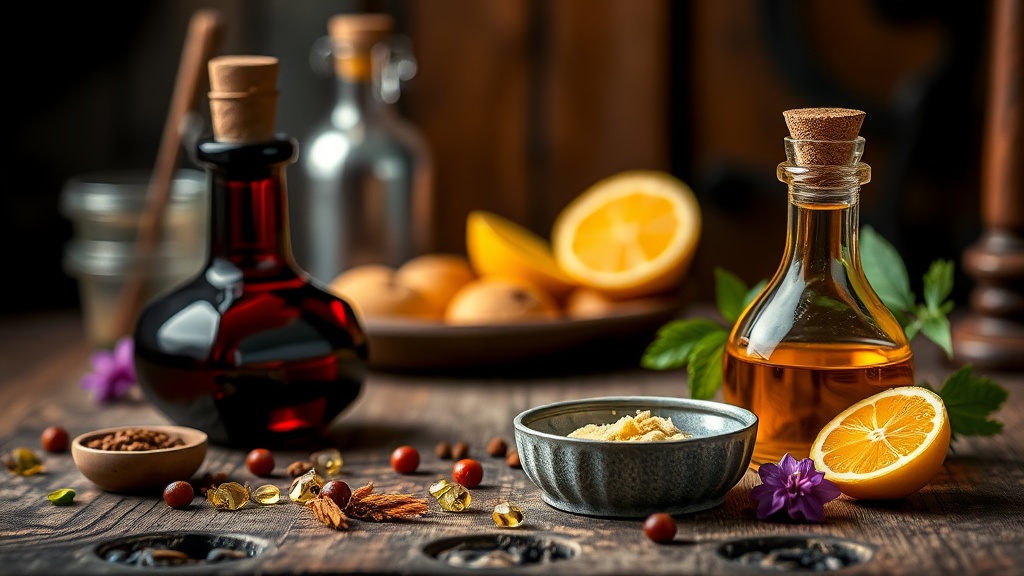
Infusing oil is one of the simplest ways to build a professional flavor profile at home. Instead of relying solely on dry spices or fresh aromatics that burn easily in a pan, you can extract those flavors into a stable fat. This creates a liquid gold that works for everything from finishing a steak to dressing a simple salad.
How Do You Make Garlic Oil at Home?
You make garlic oil by gently heating sliced or minced garlic in a neutral oil until the garlic turns golden and fragrant. This process, often called confit in French cooking, allows the oil to absorb the pungent, nutty notes of the garlic without the bitterness of burnt bits.
To start, choose a high-quality oil like extra virgin olive oil or a neutral oil such as grapeseed oil. If you're working with high heat, stick to a neutral oil. If you're making a finishing oil for a salad, olive oil is your best friend. I personally love using a small saucepan to control the temperature—never a frying pan, which can heat up way too fast.
- Prep your garlic: Slice it thin or crush the cloves. Thinner slices mean more surface area for flavor extraction.
- Heat the oil: Place your oil and garlic in a small saucepan over low heat.
- The Gentle Simmer: Keep the heat low. You aren't frying the garlic; you're gently coaxing the flavor out. If the garlic turns dark brown or black, you've gone too far and it will taste bitter.
- Cool and Strain: Once the garlic is a pale golden color, remove it from the heat. Let it cool completely before straining the oil through a fine-mesh sieve.
Storing these oils requires care. If you leave fresh garlic bits in the oil, you run the risk of foodborne illness—specifically Clostridium botulinum. For a deep dive into food safety regarding home-preserved items, check out the CDC guidelines on botulism. It's better to be safe than sorry. Always store your infused oils in the refrigerator and use them within a week, or strain the solids out entirely for longer shelf life.
Which Oils Are Best for Infusion?
The best oil for infusion depends entirely on your intended use and the temperature at which you'll be cooking.
If you want to use the oil as a finishing touch for a dish—like a drizzle over a bowl of grains or a piece of grilled fish—use an oil with a distinct flavor of its own. Extra virgin olive oil is perfect for herb-infused oils. If you're looking to create something more versatile, a neutral oil like avocado oil or grapeseed oil works best because it won't compete with the aromatics you're adding.
| Oil Type | Best Use Case | Flavor Profile |
|---|---|---|
| Extra Virgin Olive Oil | Salads, Finishing Pasta, Bread Dipping | Rich, Fruity, Grassy |
| Grapeseed Oil | Chili Oils, Light Sautéing | Neutral, Clean |
| Avocado Oil | High-Heat Infusions, Searing | Mild, Creamy |
| Toasted Sesame Oil | Asian-inspired Drizzles | Nutty, Intense |
Speaking of sesame, if you want to see how a specific oil can change a meal, check out my previous post on unexpected ways to use toasted sesame oil. It's a different kind of infusion—one that's more about the intense, toasty aroma than the slow extraction process.
How Long Should You Infuse Oil?
The infusion time depends on the type of aromatic you are using and the temperature of the oil. Herbs like rosemary or thyme can be infused quickly (about 10–15 minutes), while harder aromatics like dried chilies or peppercorns might need more time or a slower, low-temperature soak.
For a quick, hot infusion, you're looking at a 10-minute window of gentle heat. For a cold-infusion method—where you let ingredients sit in room-temperature oil for several days—you'll need much more patience. Cold infusion is much safer for delicate herbs that might turn bitter if heated.
Pro-tip: If you're making a chili oil, use a high-quality brand like Lao Gan Ma as a baseline for flavor, or add your own dried chilies to a neutral oil. The heat from the oil will bloom the spice. It's a simple technique, but the results are massive. It's much better than just sprinkling dry flakes on top of a dish at the end.
Common Mistakes to Avoid
Don't let the oil smoke. If the oil starts smoking, you've passed the point of infusion and entered the territory of scorched-oil flavor. This will ruin the entire batch. If you see wisps of smoke, pull the pan off the heat immediately.
Another mistake is using old, rancid oil. An infusion can't fix a bad base. Always use fresh, high-quality oil. This is especially true when using oils like avocado or grapeseed, which are prized for their stability. You can find detailed information on oil stability and smoke points on the Wikipedia page for smoke points.
If you're working with moisture-heavy ingredients like fresh garlic or ginger, make sure they are extremely dry before they hit the oil. Moisture and hot oil are a recipe for a messy, splattering stove. A little bit of extra drying time can save you a lot of cleaning later.
Once you've mastered the basics, you can start experimenting with more complex combinations. Try a lemon zest and thyme infusion for a bright, summer vibe. Or, go heavy with garlic and red pepper flakes for a spicy, savory kick that works perfectly on roasted potatoes. If you've already been experimenting with textures, you might enjoy seeing how to transform leftover rice into crispy golden nuggets using a bit of flavored oil to add that final layer of crunch and flavor.
The beauty of this technique is that it's incredibly forgiving once you understand the relationship between heat and aromatics. It's a skill that pays dividends every time you open your pantry.
Steps
- 1
Select Your Base Oil
- 2
Prepare Your Aromatics
- 3
Gently Heat the Oil
- 4
Infuse and Cool
- 5
Strain and Store